FPP Pumpkin Pillow - Nähen nach Zahlen
€0.00*
Free shipping
Available, download in your customer account
| Author: | Carol Ingram, Sulky of America |
|---|---|
| Language: | English, German |
| Occasion: | Halloween |
| Target Groups: | Men, Women |
| Techniques: | FPP - Foundation Paper Piecing, Sew |
| Season: | Autumn |
| Lizenz: | For private use only |
Material for your FFP Pumpkin Pillow
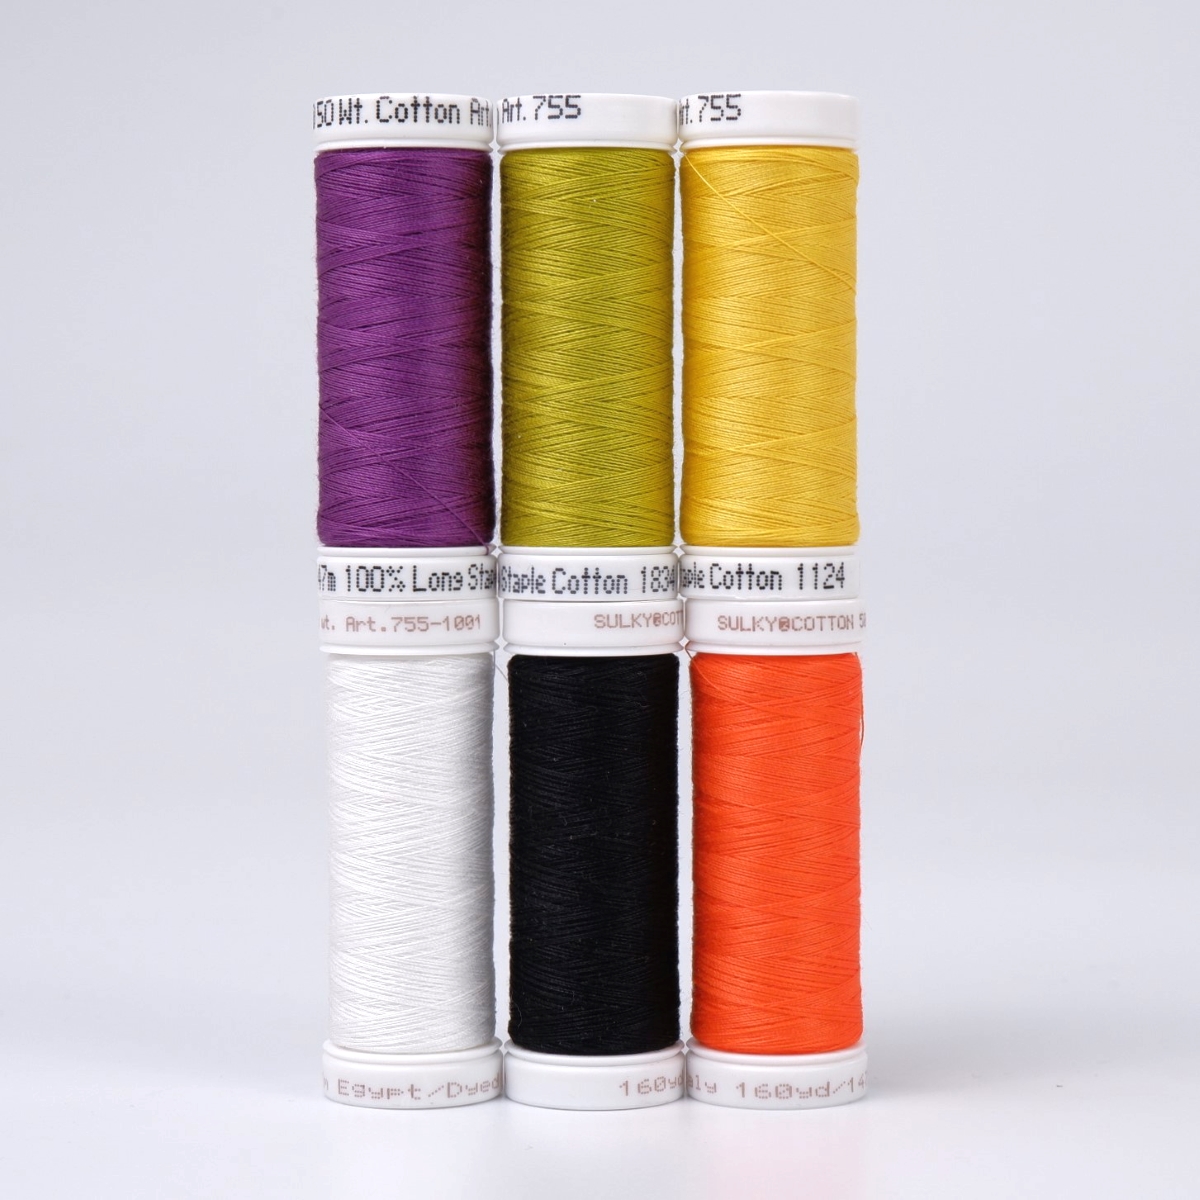
- SULKY COTTON 50 - desired colours SULKY® COTTON 50 - HALLOWEEN)
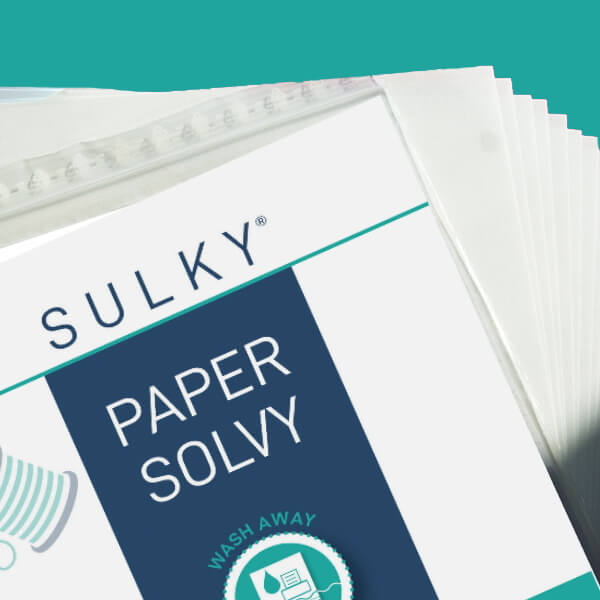
- SULKY® PAPER SOLVY
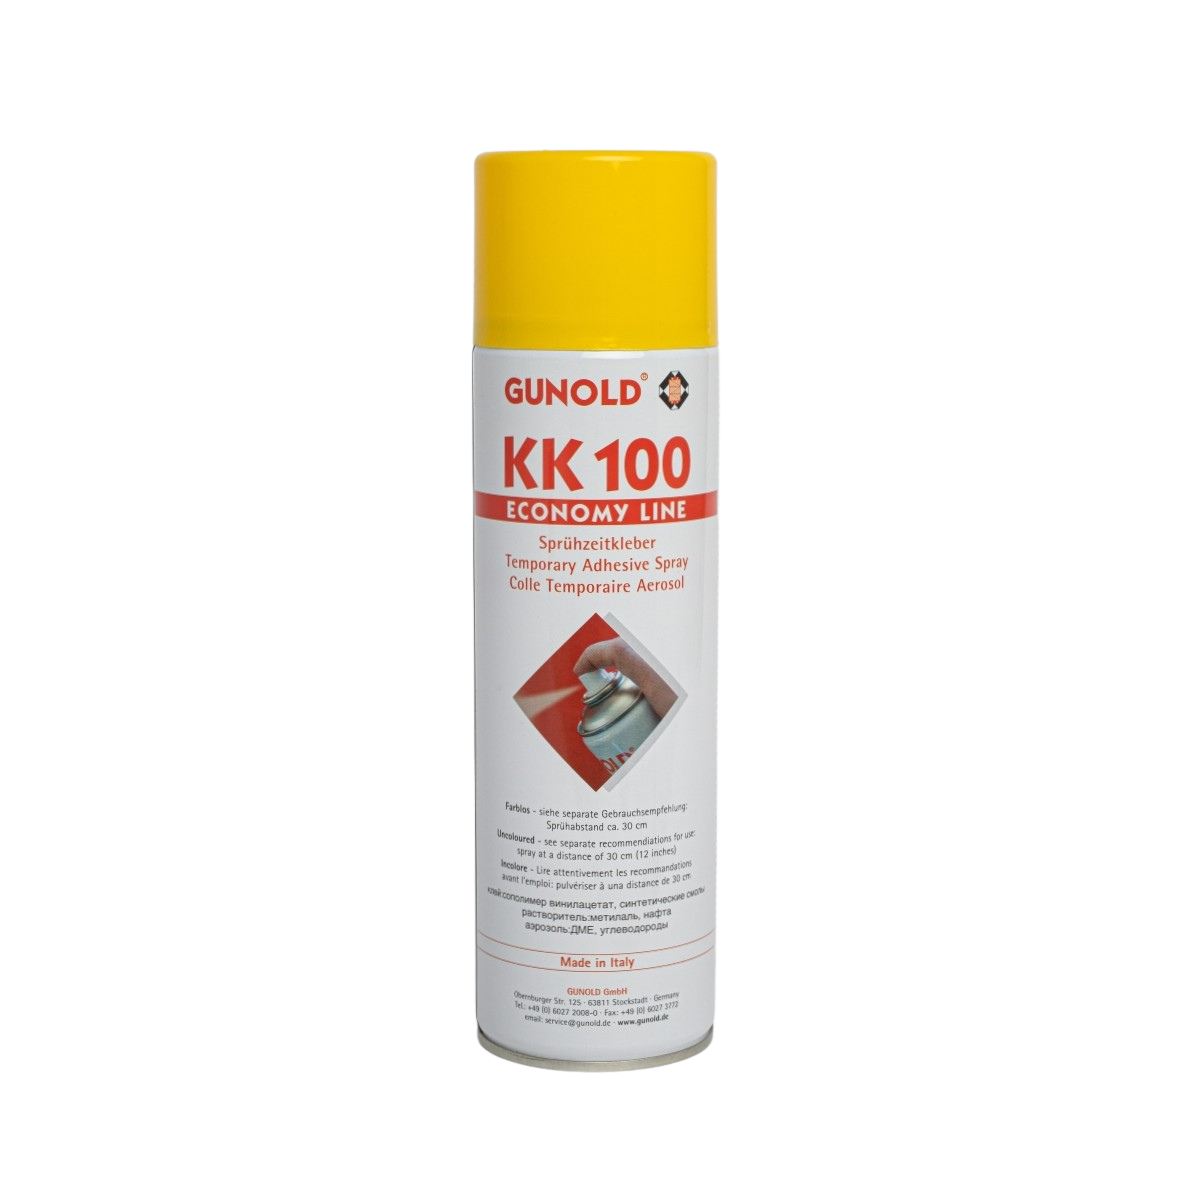
- GUNOLD® KK100 Economy Klebespray
- ORGAN® Needles Universal, size 70
☞ further required material is listed in the PDF-manual
Excerpt of the steps from the PDF-manual:
Attention: The unit of measurement used for this project is inches!
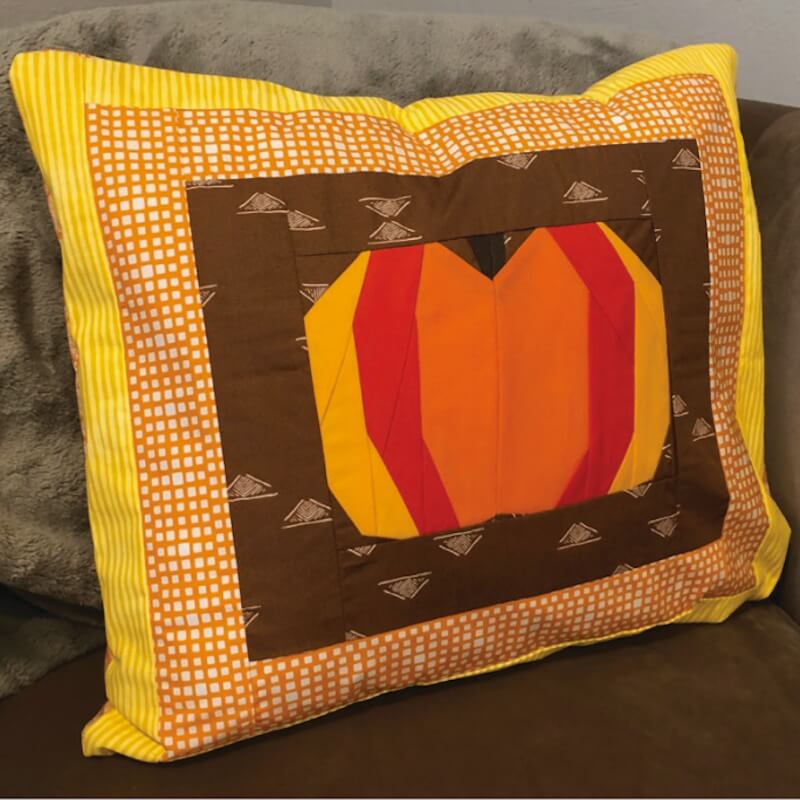
Finished size approx. 18 1/2" Width x 16" Heigh.
Cutting & Prep
Trim the fabrics.
FFP - Foundation Paper Piecing
Step 1
...
...
Step 2
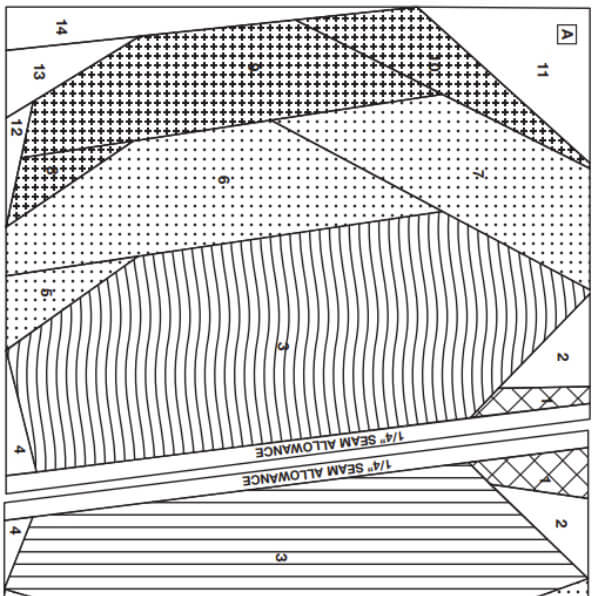
Place the first fabric scrap right side up on a flat work surface. Place the second fabric wrong side up over the first fabric. Place the pattern face up over the second fabric wrong side.
Fold the paper along the line that joins section one and two. Position the two fabrics so their matched edge extends ¼" beyond the seamline between sections 1 and 2. Stitch along the line.
...
...
Step 10
Remove large pieces of SULK® PAPER SOLVY by gently tugging along each seamline, if desired. Soak the piece or block or run it under running water to dissolve the remaining SULKY® PAPER SOLVY. Let dry flat on a towel. Press the FPP Pumpkin.
...
...
Pillow Front
Step 14
Place the pillow front right side up over the batting rectangle. Use GUNOLD® KK100 EconomyAdhesive Spray to secure.
If desired, quilt the pillow front by stitching pumpkin details or stitching in the ditch of each border seam. Switch thread colors for different quilting areas, using the SULKY® COTTON 50 – HALLOWEEN thread collection.
If applicable, once quilting is complete trim the batting even with the front fabric.
...
...
Pillow Assembly
Step 18
Place the pillow front right side up on a flat work surface. Place the basted pillow back wrong side up over the pillow front. Pin the perimeter.
Step 19
Stitch the pillow perimeter. If desired, shape the corners by stitching a slightly tapered end at each corner. (This prevents too-pointy corners
...
...
Step 22
Insert the pillow form through the envelope back.
Stuff the sides and corners with additional fiberfill to create a plump pillow to your liking.
...
...
☞ Detailed instructions and prictures are included in the PDF-manual.
Herstellerangaben gemäß GPSR-Anforderungen (General Product Safety Regulation)
Gunold GmbH
Obernburger Str. 125 | 63811 Stockstadt | Germany
E-Mail: service@sulky-shop.de

