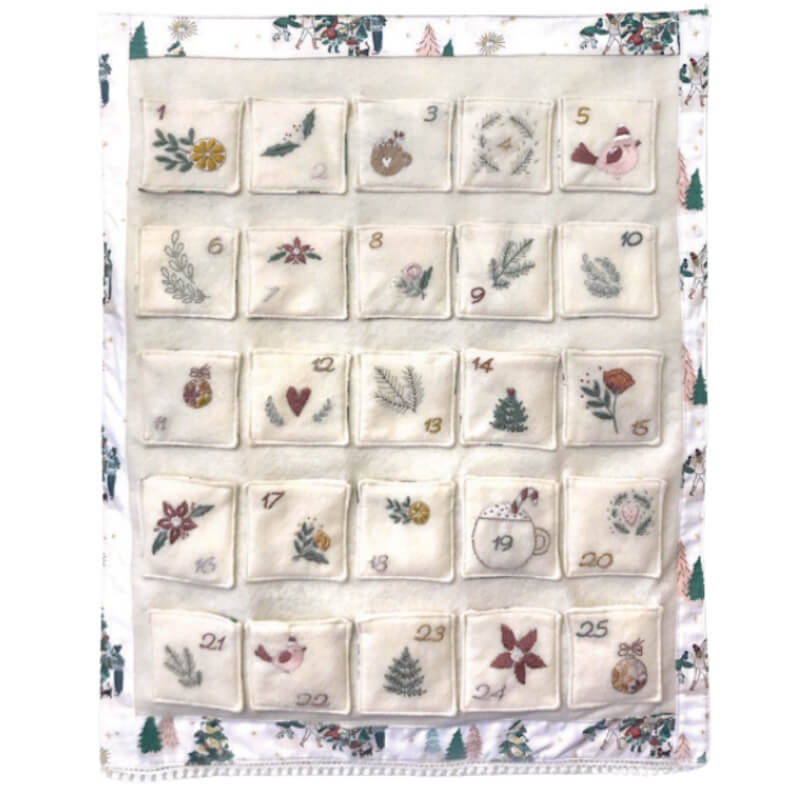
Adventskalender Holiday Cheer
Product number:
A-100431
€0.00*
Free shipping
Available, download in your customer account
| Author: | Ellen March, Sulky of America |
|---|---|
| Language: | English, German |
| Occasion: | Christmas |
| Target Groups: | Children, Men, Women |
| Techniques: | Embroidery, ITH Embroidery File, Machine Embroidery |
| Season: | Winter |
| Lizenz: | For private use only |
Product information "Adventskalender Holiday Cheer"
Required Material
- SULKY RAYON® 40 (Embroidery)
- SULKY® BOBBIN (Embroidery)
- SULKY® COTTON 50 (Advent Calendar)
- SULKY® TEAR EASY
- SULKY® FELTY (light colour)
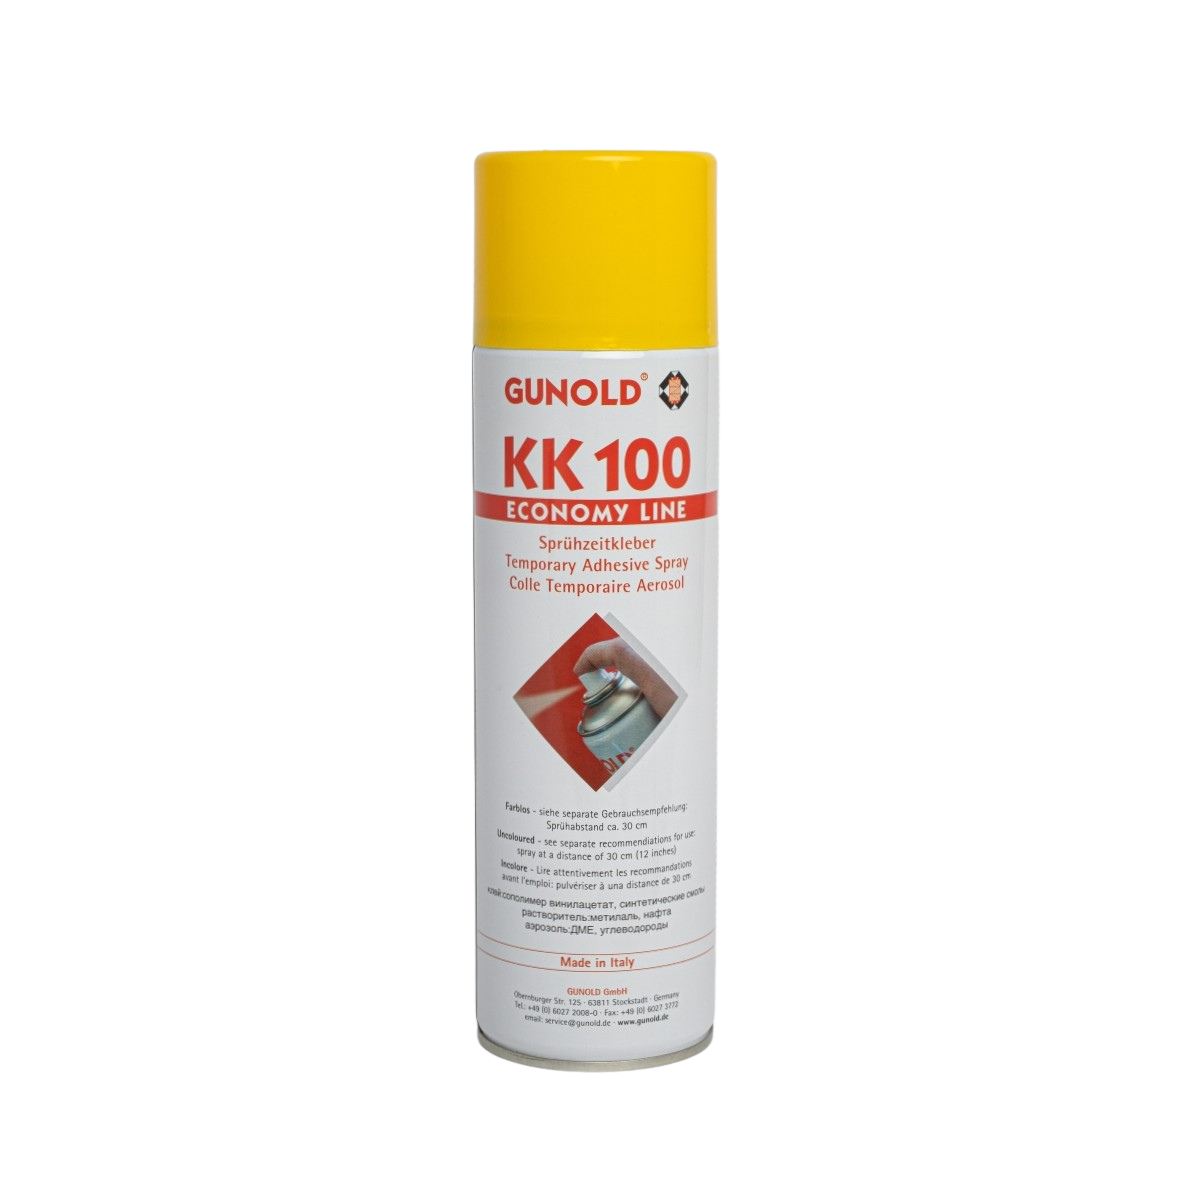
- GUNOLD® KK100 Economy, Adhesive Spray
- ORGAN® NEEDLES Universal, Size 80
- Stickdesign Holiday Cheer Collection
☞ further required material is listed in the PDF-manual
Excerpt of the steps from the PDF-manual:
Attention: The unit of measurement used for this project is inches!
Finished Size Advent Calendar: 19" x 23,5"
Finished Size Pocket: 3" x 3"
Finished Size Pocket: 3" x 3"
Preparation
Load the chosen design(s) into the embroidery machine. Hoop a piece of SULKY® TEAR EASY in the hoop. Mark the center cross marks on the stabilizer right side, using the hoop notches as a guide. Spray the wrong side of one felt square GUNOLD® KK100 Adhesive Spray. Center it on the hooped stabilizer, using the marks as a guide. Place the hoop onto the machine.
Load the chosen design(s) into the embroidery machine. Hoop a piece of SULKY® TEAR EASY in the hoop. Mark the center cross marks on the stabilizer right side, using the hoop notches as a guide. Spray the wrong side of one felt square GUNOLD® KK100 Adhesive Spray. Center it on the hooped stabilizer, using the marks as a guide. Place the hoop onto the machine.
Embroidery
Begin the design, using an ORGAN® Needles Universal, SULKY® RAYON thread and SULKY® BOBBIN. Clip jump threads with each thread change. When the embroidery is complete, remove the stabilizer from the hoop. Carefully tear away the stabilizer beyond the design perimeter. Repeat to embroider all 25 squares.
Construction
Step 1
Place one embroidered felt square right side up on a flat work surface. Place a print cotton fabric square wrong side up over the felt square, matching all edges and corners; pin. Stitch the lower or upper edge and sides with SULKY® COTTON 50. Clip the corners
…
…
Step 3
Place the large felt rectangle (When working with SULKY® FELTY, the individual sections must be sewn together beforehand.) right side up on a flat work surface so one short edge is the upper edge. Position each pocket on the felt right side, spacing them evenly and abutting the sides. Once satisfied with the placements, pin each pocket in place.
…
...
Finishing
Step 8
Double-fold each short end of the hanging sleeve ¼" toward the wrong side; press, and then stitch close to the foldline. Fold the rectangle in half lengthwise with wrong sides together. Stitch the long edge.
…
…
Step 12
Turn the calendar right side out through the opening. Carefully clip the corners. Fold the opening seam allowances toward the wrong side; pin or clip to secure.
Step 13
Topstitch the calendar 1/8" from the edges, closing the opening with the stitches.
Hang the calendar where desired and insert a goodie into each pocket
Herstellerangaben gemäß GPSR-Anforderungen (General Product Safety Regulation)
Gunold GmbH
Obernburger Str. 125 | 63811 Stockstadt | Germany
E-Mail: service@sulky-shop.de

